How to Print on Vellum Paper with an Epson Printer
Printing on vellum paper can be a bit tricky, especially with an Epson printer. Vellum is a translucent paper that can cause ink to bleed if not handled correctly. However, with the right settings and techniques, you can achieve clear and sharp results. Let’s walk through the steps to print on vellum paper using an Epson printer.
How to Print on Vellum Paper with an Epson Printer
Printing on vellum paper with an Epson printer requires specific settings and careful handling. Here’s a step-by-step guide to help you get it right:
Step-by-Step Guide
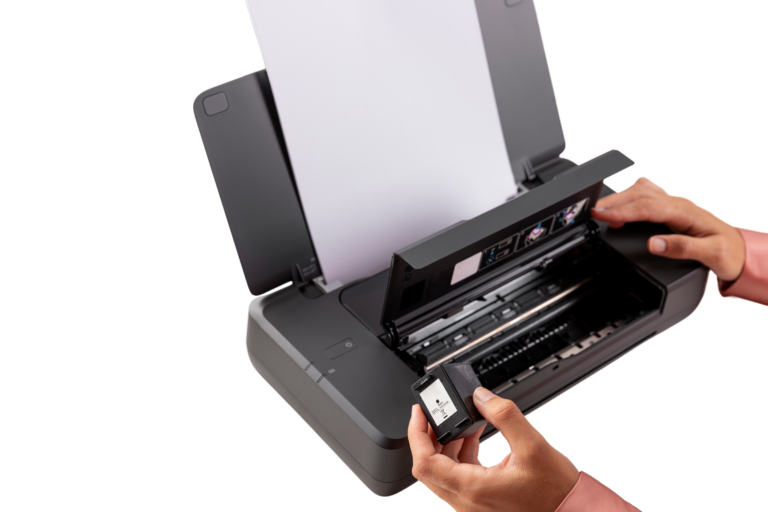
1. Prepare Your Printer
- Ensure your printer is clean and free of dust. Dust can interfere with the paper feeding process.
- Check that you have the correct type of vellum paper. Grafix Ink Jet Vellum is a good choice, as it is designed specifically for inkjet printers.
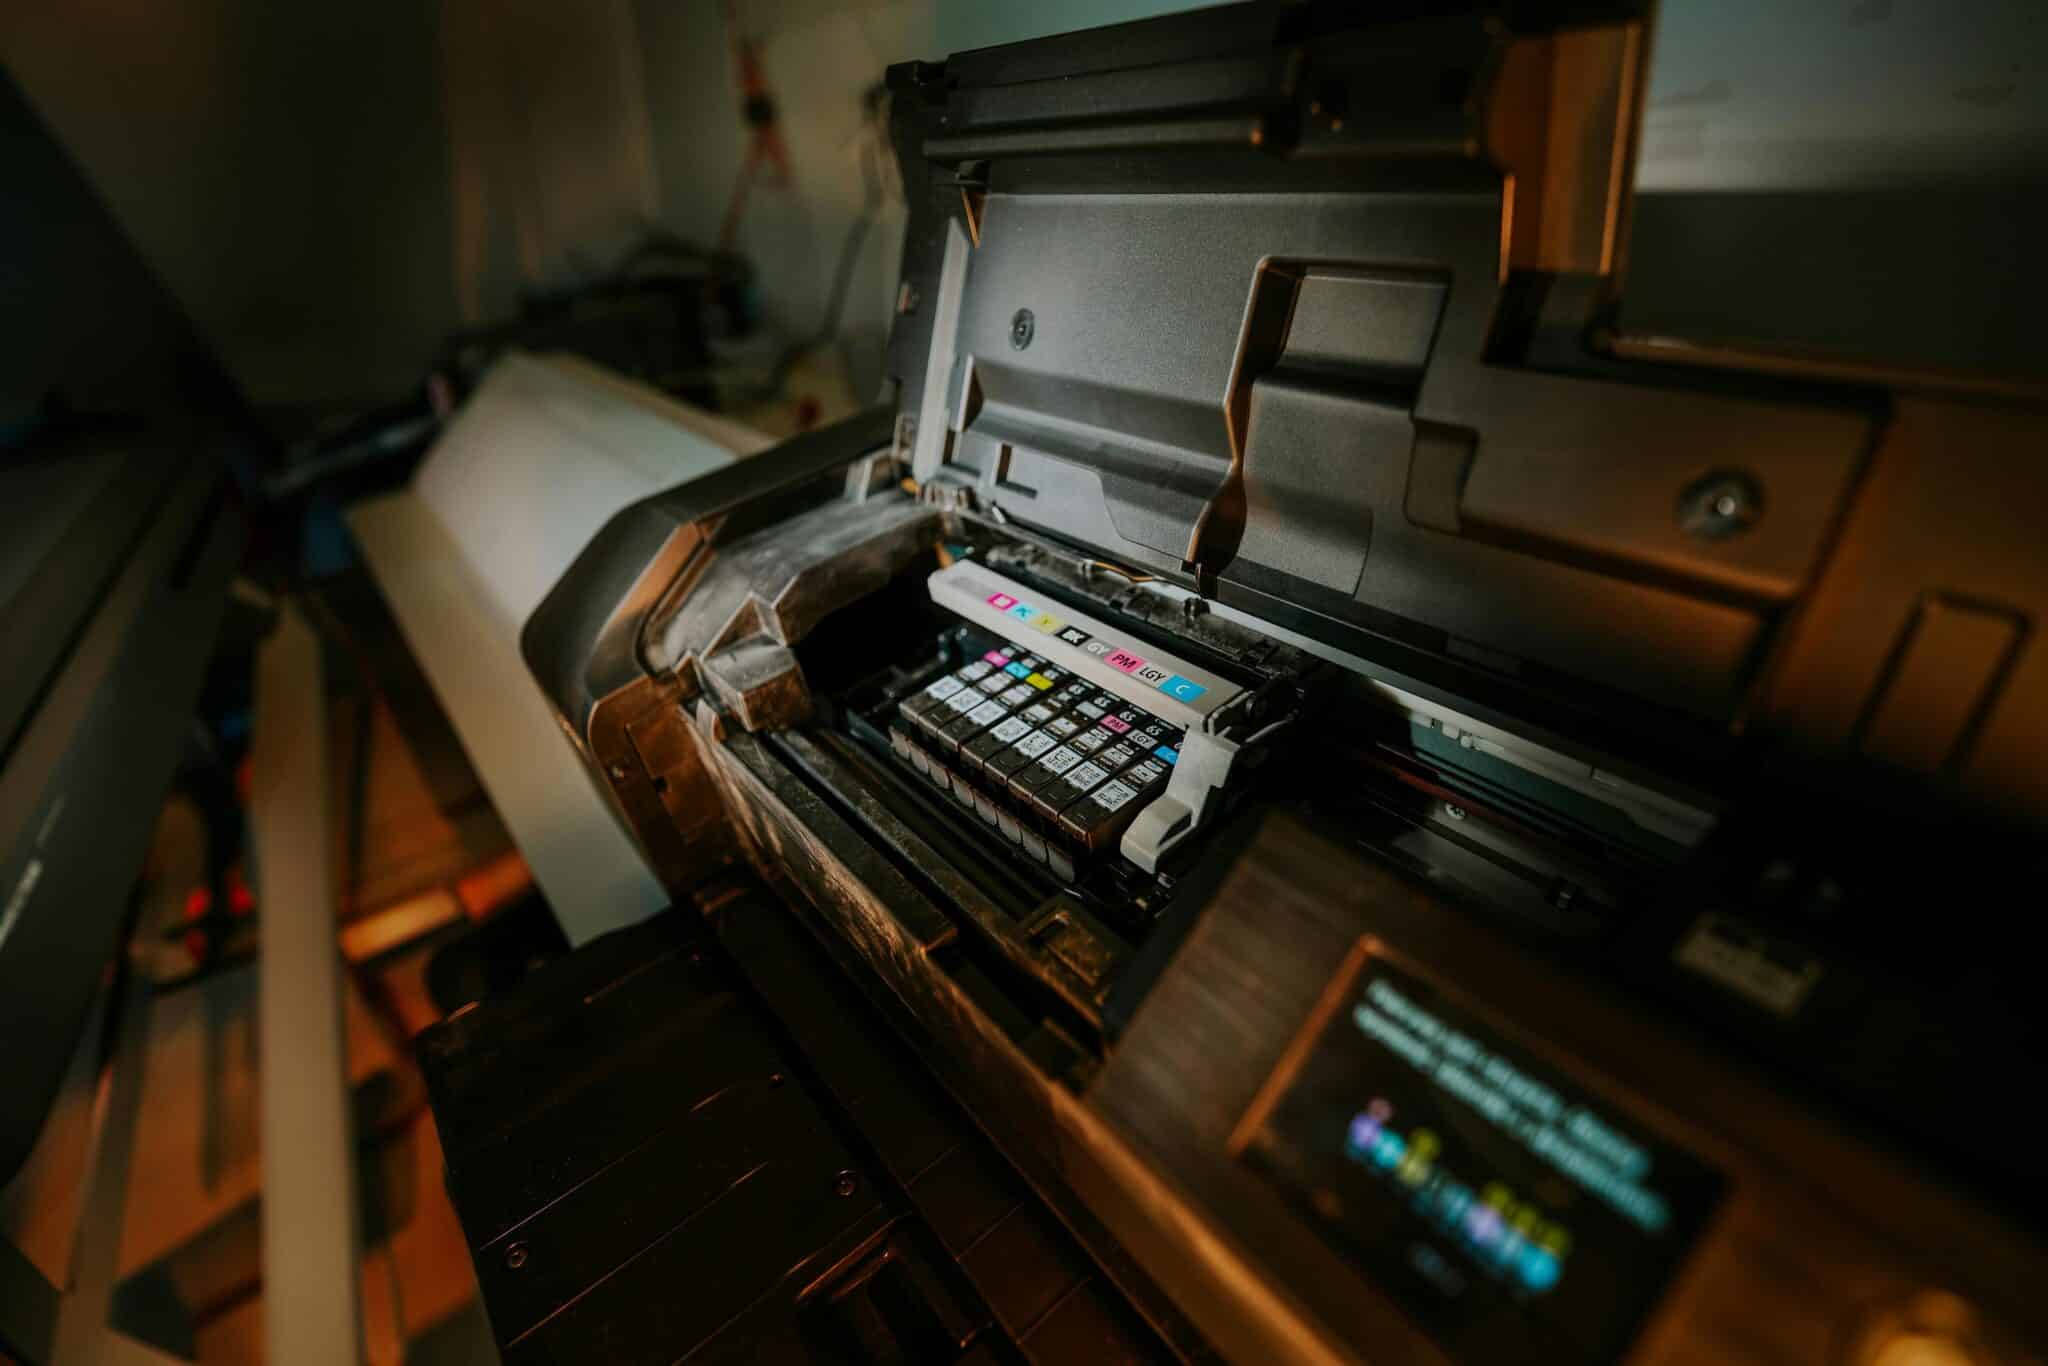
2. Adjust Printer Settings
- Select the Right Paper Setting: In the printer dialog box, set the paper type to “Transparency” if available. This setting is designed to handle non-porous surfaces like vellum.
- If “Transparency” is not available, choose “Plain Paper” or “Auto Select” for the media type.
- Ink Density: Reduce the ink density to prevent bleeding. This can often be done in the printer’s properties or settings menu. Look for options like “Ink Density” or “Ink Volume” and set it to a lower level.
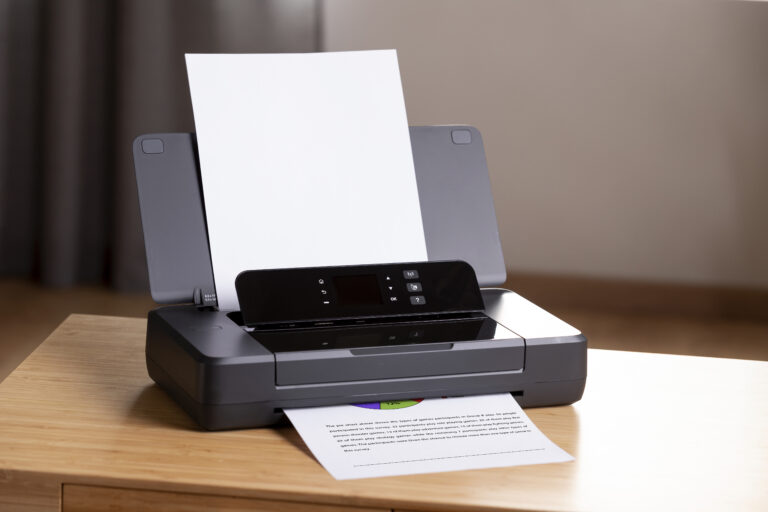
3. Loading the Vellum Paper
- Load the vellum paper in the “Rear Tray” if your printer has one. This can help with feeding issues as it reduces the risk of paper jams and misfeeds.
- If the printer doesn’t recognize the vellum, try placing a plain sheet of paper behind the vellum to help with feeding. This trick helps because the plain paper provides more opacity, allowing the printer’s sensors to detect the edge of the paper better.
4. Printing Process
- Ensure you print only one sheet at a time to avoid jams and feeding issues. Vellum is more delicate and slippery than regular paper, which can cause multiple sheets to be picked up at once.
- Select “Normal” print quality instead of “Best” to use less ink and prevent smearing. Using too much ink can cause it to pool and bleed on the vellum surface.
- If your printer has an option for “Dry Time,” increase it slightly. This will give the ink more time to set on the vellum before the next line is printed.
5. Drying Time
- After printing, allow the vellum to dry completely before handling to avoid smearing. Vellum can take longer to dry compared to regular paper because of its non-porous surface.
- Consider placing the printed vellum in a safe, dust-free area to dry. You can use a clean, flat surface or hang it using clips.
Common Issues and Solutions
Issue: Printer Doesn’t Recognize Vellum
Solution:
- Attach a strip of masking tape to the leading edge of the vellum. This helps the printer’s sensors detect the paper. Make sure the tape is applied smoothly and does not extend beyond the edges of the paper.
- Alternatively, you can use a thicker vellum paper that is more easily detected by the printer sensors.
Issue: Ink Bleeds on Vellum
Solution:
- Reduce the ink density and print quality settings. Choose a “Plain Paper” setting rather than a photo setting to minimize the amount of ink used.
- Ensure that you are using the correct side of the vellum. Some vellum papers have a preferred printing side that accepts ink better.
Issue: Paper Feeding Problems
Solution:
- Place a plain sheet of paper behind the vellum to help feed it through the printer. This can provide additional grip for the printer rollers.
- Use the “Rear Tray” if available. This reduces the bending and handling the vellum undergoes, minimizing feeding issues.
- If the vellum is still not feeding properly, try gently bending the leading edge to create a slight curve. This can help the rollers grip the paper better.
Additional Tips for Best Results
- Test print on a small piece of vellum to check settings before printing your final document. This helps to ensure that you have the correct settings without wasting a lot of vellum paper.
- Consider using a different type of vellum if you continue to experience issues. Thicker vellum papers tend to feed better and handle ink more effectively.
- If your printer supports custom media settings, create a custom profile for vellum printing. This allows you to save the optimal settings for future use.
Table: Common Epson Printer Models and Recommended Settings for Vellum
| Printer Model | Paper Setting | Ink Density | Dry Time | Tray |
| Epson Stylus Photo 1400 | Transparency | Low | High | Rear Tray |
| Epson XP-15000 | Auto Select | Medium | Medium | Main Tray |
| Epson R280 | Plain Paper | Low | High | Rear Tray |
Conclusion
Printing on vellum paper with an Epson printer requires specific settings and handling techniques. By adjusting the paper settings, reducing ink density, and ensuring proper feeding, you can achieve beautiful, professional-looking prints on vellum. Remember to test your settings on a small piece of vellum first and allow ample drying time for the best results. With these tips and tricks, you’ll be able to print stunning vellum projects with ease. Happy printing!
Frequently Asked Questions
1. Can you print on vellum paper with an Epson printer?
You can use plain paper; however, for the best results, you’ll want to use one of Epson’s special inkjet papers. Note: Inkjet transparencies and vellum paper are not supported.
2. Can a regular printer print on vellum?
Vellum can be printed with an inkjet or laser printer. However, due to its non-porous surface and its light, delicate nature, printing vellum paper may be tricky. Below, we offer some tips and tricks for printing these translucent, delicate sheets and for tackling common issues such as ink smudge and paper jams.
3. How do I print on transparent paper with an Epson printer?
What settings do I need for printing on transparency paper? Select the “Transparency” or “Film” setting in your printer’s print settings. This setting adjusts the ink or toner application to suit transparent materials.