How to Override Epson Ink Cartridge Not Recognized
Is your Epson printer interrupting your workflow with an annoying “Replace Cartridge” notification? This issue can be frustrating, but understanding why it happens and knowing how to fix it can save you a lot of headaches. In this guide, we’ll explore why your Epson printer might not recognize ink cartridges and provide you with step-by-step solutions to override this error on Windows, Mac, and directly on the printer.
How to Override Epson Ink Cartridge Not Recognized
If your Epson printer keeps saying “Replace Cartridge,” here are steps to override the “Epson ink cartridge not recognized” error on different platforms.
Overriding Steps For Windows
Step 1: Identify the unrecognized cartridge.
- Look at the error message on your printer or computer to see which ink cartridge(s) are not recognized.
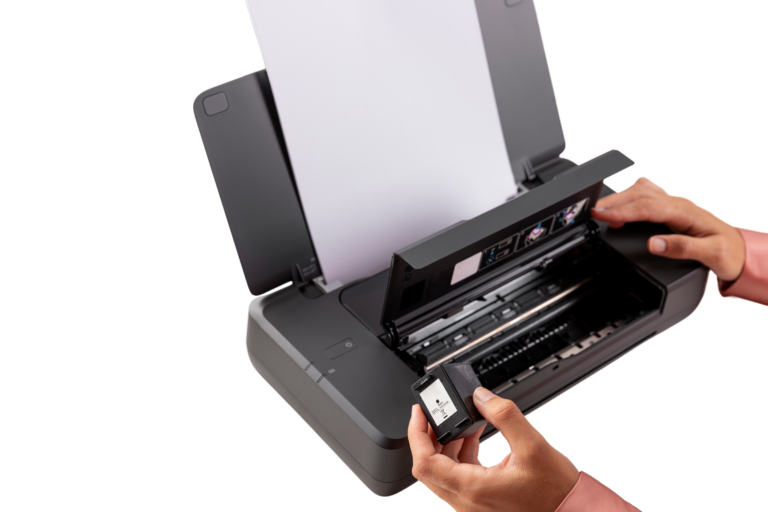
Step 2: Reinsert the cartridge.
- Remove the unrecognized ink cartridge and firmly put it back into its slot, ensuring it fits correctly.
Step 3: Press Continue or OK.
- Press the “Continue” or “OK” button on your printer or computer screen to accept the error and continue printing.
Step 4: Print a test page.
- After overriding the error, print a test page or document to ensure the printer accepts the cartridges and can produce prints successfully.
Step 5: Monitor print quality.
- Check the printed results to make sure they look good. Address any print quality issues separately.
Overriding Steps For Mac
Step 1: Identify the unrecognized cartridge.
- Note which specific ink cartridges are not being recognized by your Epson printer.
Step 2: Restart the printer.
- Turn off your Epson printer and wait a minute before turning it back on.
Step 3: Reinstall problematic cartridges.
- Remove and firmly reinstall the unrecognized cartridges, ensuring they fit securely.
Step 4: Acknowledge the error.
- If the error persists, press “Continue” or “OK” on your printer or Mac screen to keep printing.
Step 5: Test print.
- Print a test page or document to ensure the printer works with the cartridges and prints correctly.
Overriding Steps Directly on the Epson Printer
Step 1: Press Continue.
- When the error message appears, locate the “Continue” or “OK” button on the printer’s control panel.
Step 2: Hold for 5 seconds.
- Press and hold the button for about five seconds until the error message disappears.
Step 3: Resume printing.
- After releasing the button, the printer should recognize the cartridge, allowing you to continue printing.
How to Override After Replacing Ink Cartridges
If you’ve installed new cartridges and still see the error, follow these steps: Step 1: Turn off the printer.
- Power off your Epson printer.
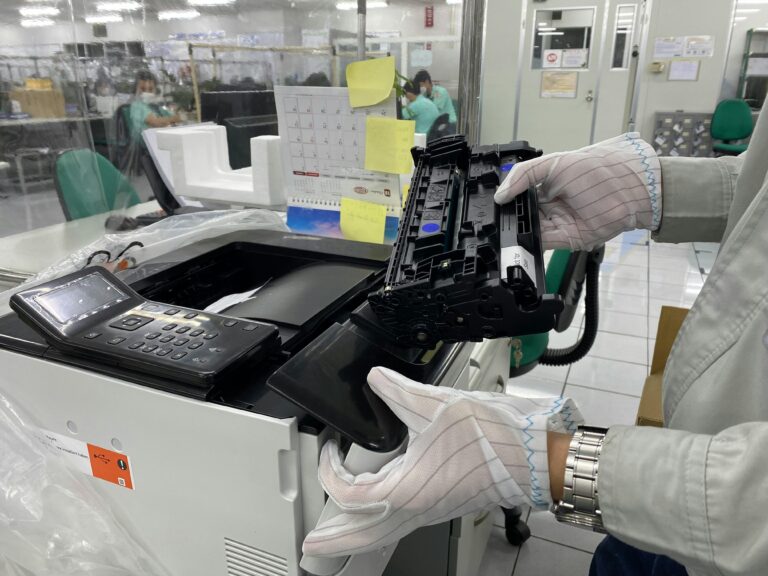
Step 2: Remove new cartridges.
- Open the cartridge access door and take out the new cartridges.
Step 3: Inspect cartridge contacts.
- Clean the cartridge contacts with a lint-free cloth or cotton swab dipped in isopropyl alcohol.
Step 4: Reinsert cartridges.
- Put the cleaned cartridges back into their slots securely.
Step 5: Power on the printer.
- Turn the printer back on and wait for it to initialize.
Step 6: Monitor for error message.
- Check for any error messages on the printer or computer screen.
Step 7: Override the error.
- Press and hold “OK” or “Continue” for about 5-10 seconds until the error message disappears.
Step 8: Resume printing.
- Once the error message disappears, the printer should recognize the new cartridges, allowing you to print as usual.
Tips for Preventing Future Epson Override Replace Cartridge Issues
Follow these tips to avoid future cartridge recognition issues: Regular Cleaning
- Clean the printhead and cartridge contacts regularly with a lint-free cloth to prevent dust and dirt buildup.
Handle Cartridges Carefully
- Follow the manufacturer’s instructions when changing cartridges to avoid damaging them.
Store Cartridges Properly
- Keep spare cartridges in their original packaging in a cool, dry place.
Print Regularly
- Use your printer regularly to prevent ink from drying out and clogging the printhead.
Monitor Ink Levels
- Keep an eye on ink levels and replace cartridges promptly when they are low.
Common Reasons for “Replace Cartridge” Notifications
Before diving into the solutions, let’s understand why your Epson printer keeps saying “Replace Cartridge.” Low Ink Levels
- When ink levels are low, the printer will notify you to replace the cartridge.
Empty Cartridge
- Completely empty cartridges will trigger a replacement message.
Cartridge Installation Error
- Improperly installed cartridges can cause the printer to not recognize them.
Ink Cartridge Chip Issues
- Damaged or malfunctioning chips on cartridges can prevent recognition.
Protective Tape Not Removed
- Forgetting to remove the protective tape from new cartridges can block the ink flow.
Wrong Cartridge Model
- Using a cartridge model not compatible with your printer will trigger an error.
Incompatible Printer Firmware
- Firmware updates might block the use of third-party cartridges, requiring a downgrade to resolve.
FAQs
How do I bypass an Epson ink cartridge?
- After opening the lid, hold the ink button down. When the ink holder moves to its position, open the cartridge’s lid, close it again without removing the cartridge, and start printing.
How to make my Epson printer print when one ink cartridge is empty?
- Access the Epson Printer Utility 4 dialog box. Click Monitoring Preferences, select the “Permit temporary black printing” check box, and close the window. Load plain paper or an envelope and print.
Is there a reset button on Epson ink cartridges?
- Yes, there is a reset button on the microchip of Epson ink cartridges. Use a paper clip to press the reset button above the metal contacts.