How to Print 13×19 on Epson 8550
Printing large photos at home can be a rewarding experience. If you own an Epson 8550 printer, you’re in luck. This guide will show you how to print 13×19 on Epson 8550, ensuring you get the best quality prints every time. Whether you’re using Adobe Lightroom, Photoshop, or any other software, these steps will help you achieve the perfect print.
How to Print 13×19 on Epson 8550
Prepare Your Printer and Paper
- Make sure your Epson 8550 printer is turned on and connected to your computer.
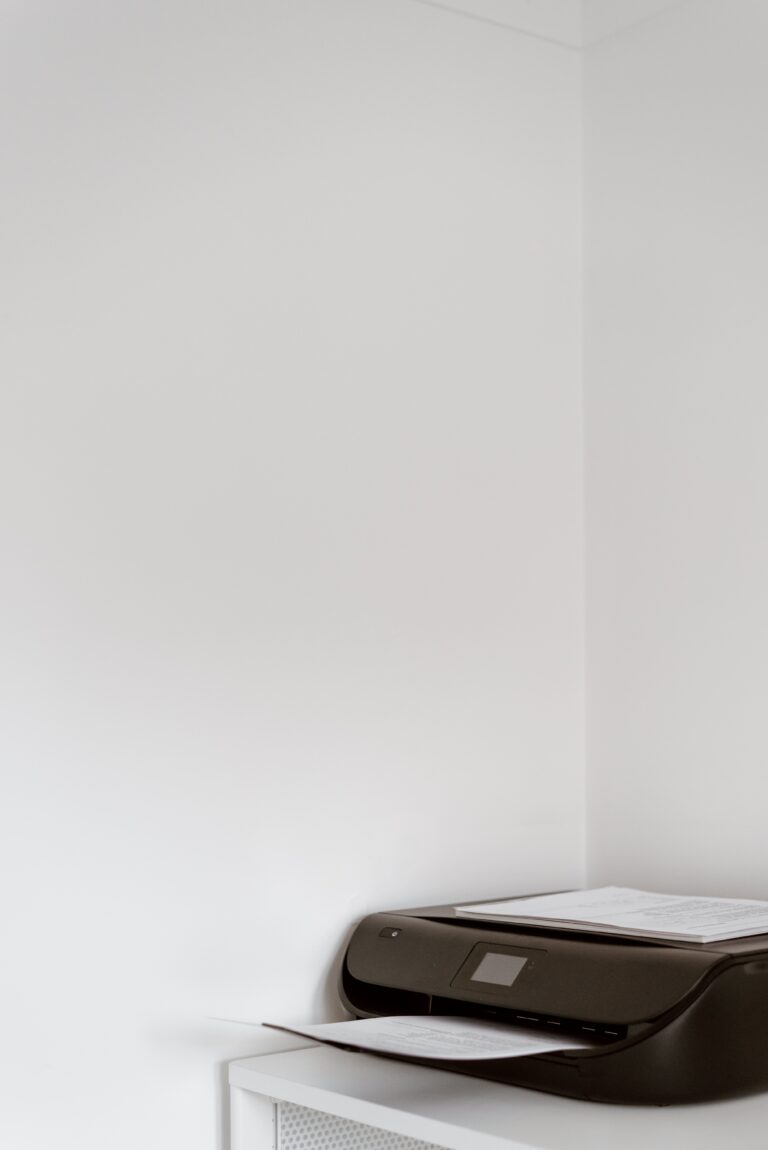
- Load the 13×19 paper into the rear feed tray. Ensure the paper is aligned correctly to avoid any jams or misprints.
- Check the paper type settings on your printer. Navigate to Settings > Printer Settings > Paper Source Setting and select “13×19” or “Super B (A3+).” Confirm the selection.
Set Up Your Print Job
- Open the software you are using to print (e.g., Adobe Lightroom, Photoshop, or Epson Print Layout).
- Go to the print settings or print dialog box.
- Choose your Epson 8550 printer from the list of available printers.
Configure Paper Size and Print Settings
- In the print settings, select Page Setup.
- Set the paper size to “13×19” or “Super B (A3+).” Some software might list this size under different names like 33×48 cm or A3+.
- Adjust the print quality settings to your preference. For best results, choose a high-resolution setting.
- Ensure the paper type matches what you have loaded. For example, select photo paper if you are using glossy or matte photo paper.
Customize Print Layout
- In the print module, adjust the layout settings. You can choose borderless printing or add a small border if desired. This step is crucial for getting the final output just right.
- Check the preview to ensure the image fits correctly on the paper. Make any necessary adjustments to the cell size and layout to avoid cropping important parts of the image.
Print Your Image
- Once all settings are configured, click the print button to start the printing process.
- Monitor the print job to ensure it runs smoothly. If there are any issues, check the paper alignment and settings again.
- After printing, allow the paper to dry completely to avoid smudging, especially if you are using photo paper.
Troubleshooting Tips
- If the printer does not recognize the paper size, ensure the correct driver is installed and up-to-date. Sometimes, reinstalling the driver can solve recognition issues.
- If the print job feeds paper without printing, recheck the paper settings and tray selection. Make sure the rear feed tray is selected and the paper is properly loaded.
- Ensure there is enough space behind the printer for the rear feed tray, especially when printing larger sizes like 13×19.
Printing Tips and Best Practices
- Use High-Quality Paper: For the best results, use high-quality photo paper designed for inkjet printers. Brands like Red River offer excellent options for 13×19 prints.
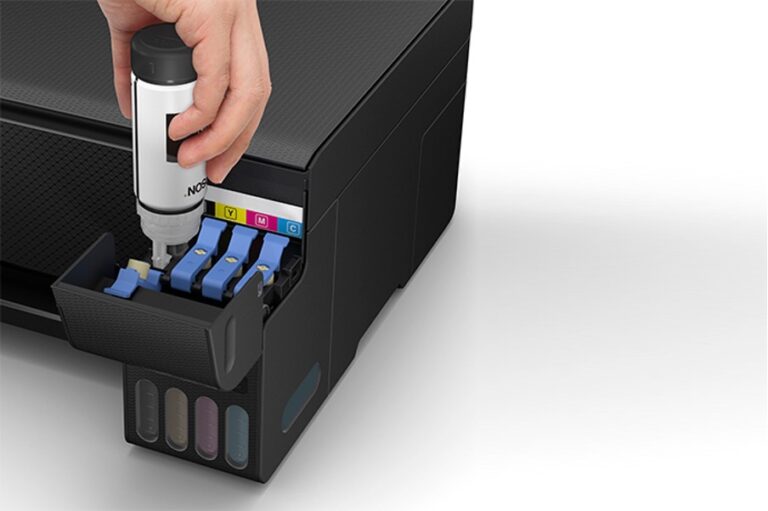
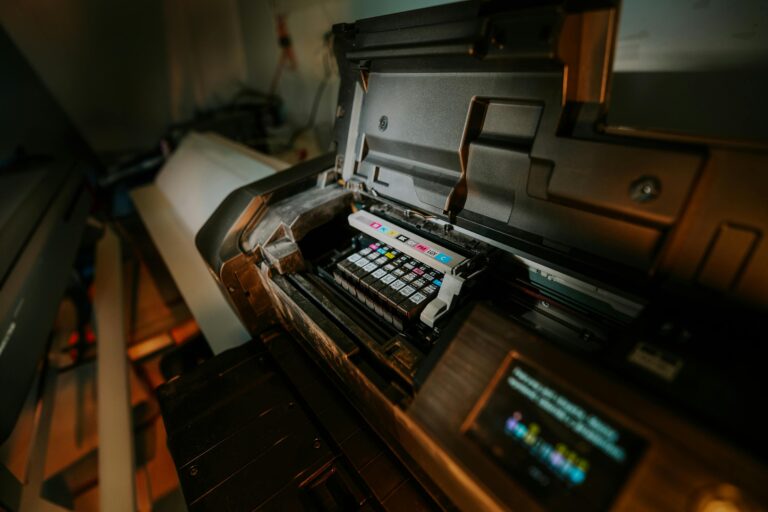
- Regular Maintenance: Keep your printer in good condition by performing regular maintenance, including cleaning the print heads and checking for software updates. This ensures optimal print quality and extends the printer’s lifespan.
- Test Prints: Before printing important images, do a test print on a smaller size to ensure colors and alignment are correct. This can save you time and materials.
- Color Management: Use the correct ICC profiles for your paper and printer combination. This helps in achieving accurate colors and reduces the need for reprints.
Additional Software Settings
- In Adobe Lightroom, go to the Print Module and click Page Setup. Select your printer and then choose Super B (13×19) as the paper size.
- In Photoshop, access the print settings via File > Print. Under Print Settings, set the paper size to 13×19 or Super B.
- For those using Epson Print Layout, ensure the software recognizes the printer. If not, reinstall the printer driver and restart the software.
Paper Size Terminology
To avoid confusion, it’s helpful to understand the different names for 13×19 paper:
| Term | Description |
| Super B | Quasi-ANSI name, originally for proofing |
| A3+ | Faux-ISO name, slightly different dimensions |
| 33×48 cm | Metric size, close to but not exact 13×19 inches |
Conclusion
Printing 13×19 on an Epson 8550 is straightforward with the right setup and settings. Follow these steps to produce stunning large prints at home. Ensure you maintain your printer and use the correct settings for the best results. Happy printing
FAQs
1. Can Epson ET-8550 print 13×19?
Yes, the Epson EcoTank Photo ET-8550 All-in-One Wide-format Supertank Printer can print borderless up to 13×19.
2. Can Epson ET-8550 print A3?
Yes, the ET-8550 also prints borderless up to A3+ and includes paper and photo trays, plus built-in USB/card slots. Additionally, it features cartridge-free printing, allowing you to print thousands of pages straight out of the box!
3. How do I change the print size on my Epson printer?
Follow these steps to change the print size on your Epson printer:
- Select Settings > General Settings > Printer Settings > Paper Source Settings > Paper Setting.
- Select Paper Size.
- Choose the paper size you loaded.